In order to optain a secure infrastructure you need to have controll over your MFA settings. There are several settings you need to configure and know how it works.
In this post I`ll go through all settings like
Notifications
Maybe the easiest setting but yet som important.
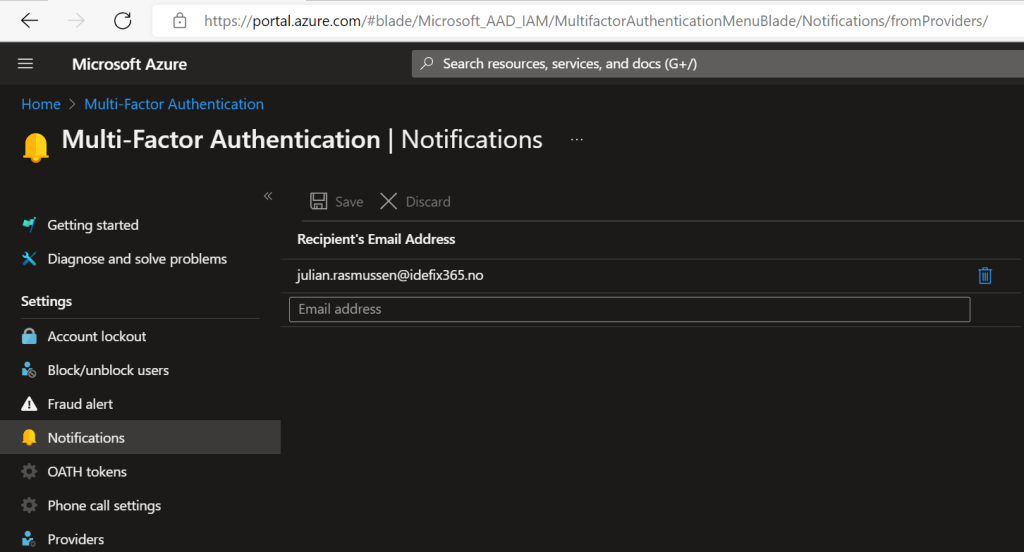
You need to configure who will get the notification whenever there is a issue with one of your users. To do this please go here and and your desired address:
Azure Active Directory > Security > Multi-Factor Authentication > Notifications
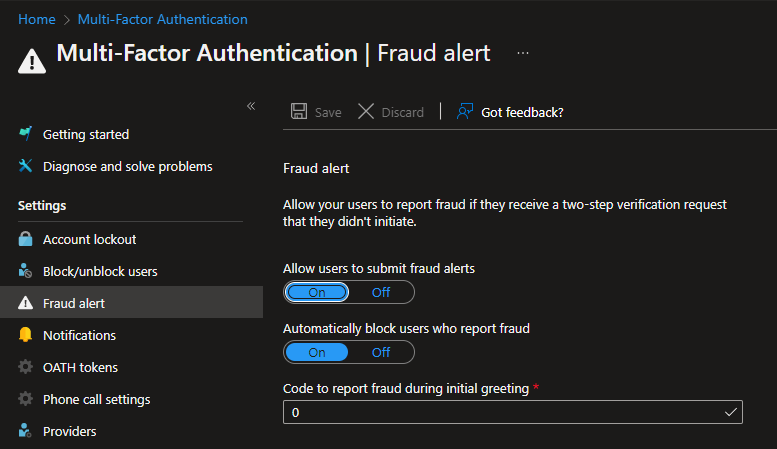
Fraud Alert
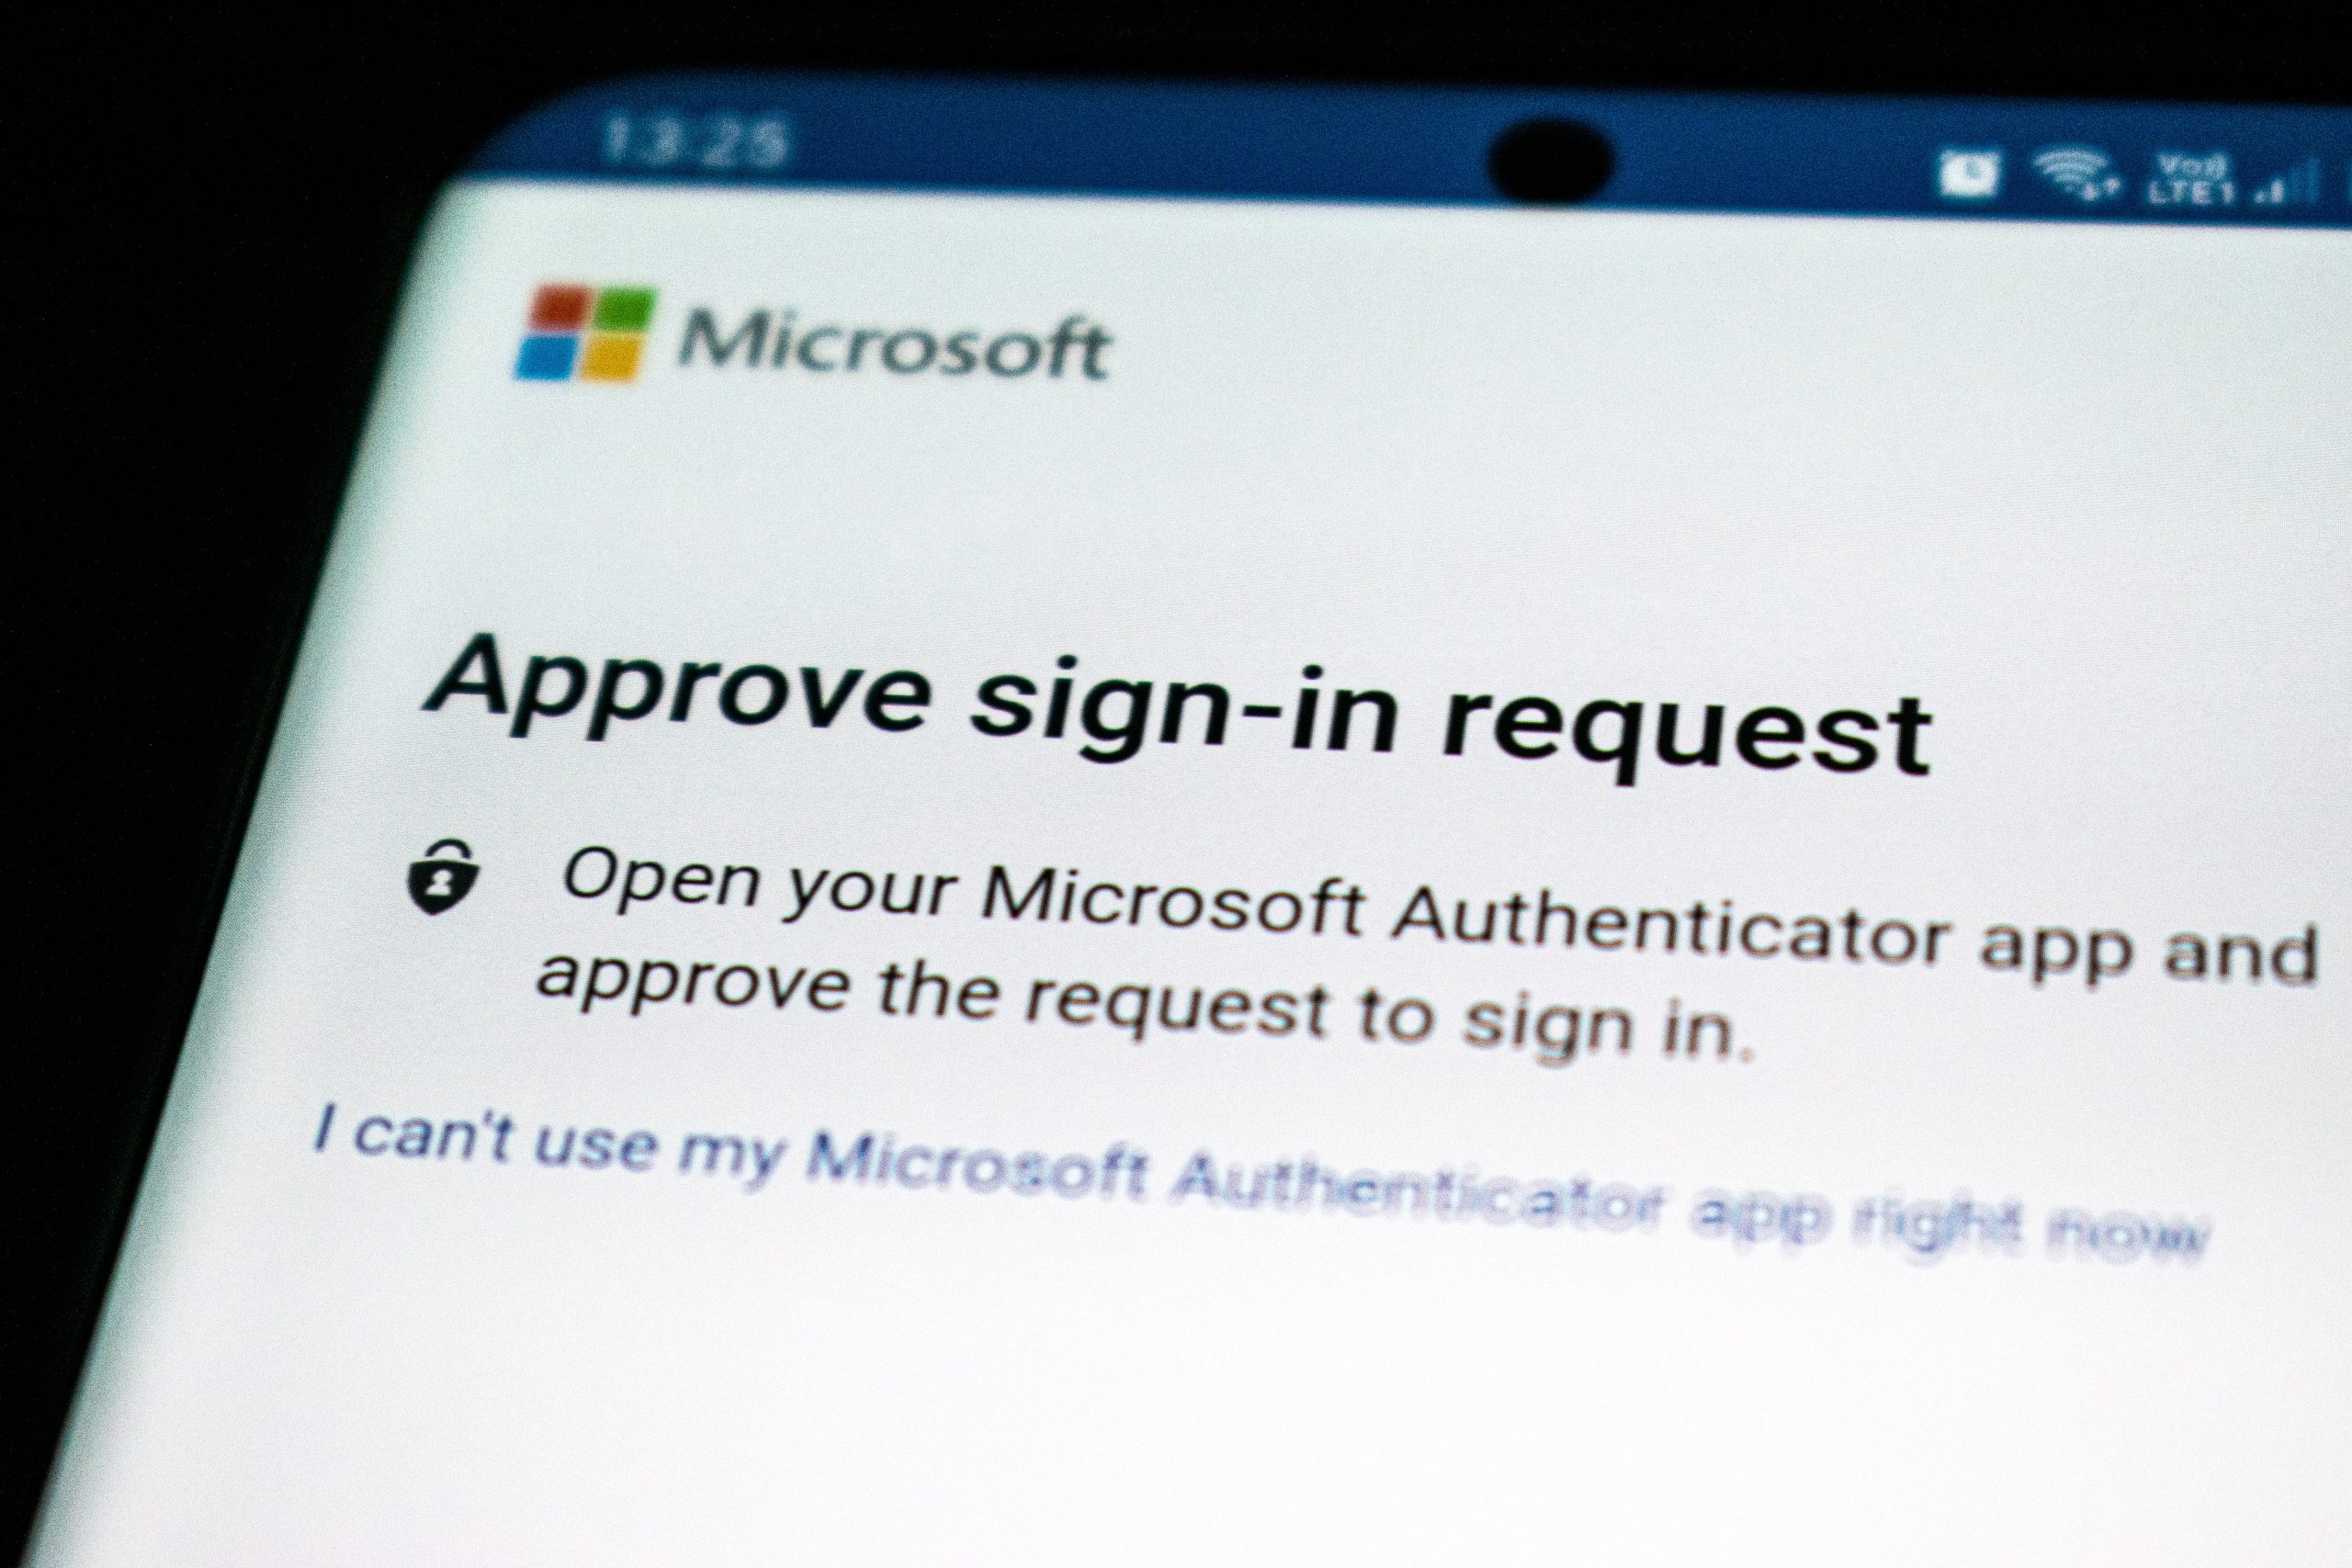
Fraud alert is verry important to configure! This feature will block signins for the end-user when the user is deny’ing a unknown or suspicious MFA promt on their Authenticator app or phone. The user is blocked in 90 days or until a Administrator un-blocks the user.
Head into – Azure Active Directory > Security > MFA > Fraud alert
And enable the “Fraud alerts” settings on your tenant.
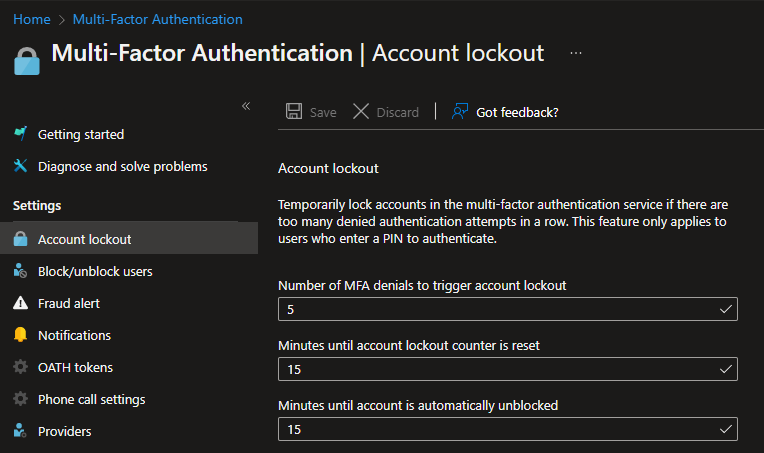
Account Lockout
So this Multi-Factor feature will let you configure your environment to handle MFA request attacks. Meaning that you can configure the Account Lockout settings for how many denials before triggering a account lockout and also you can configure how many minutes until the counter resets.
The settings are set here: Azure Active Directory > Security > MFA > Account lockout
These are my recomended settings for this.
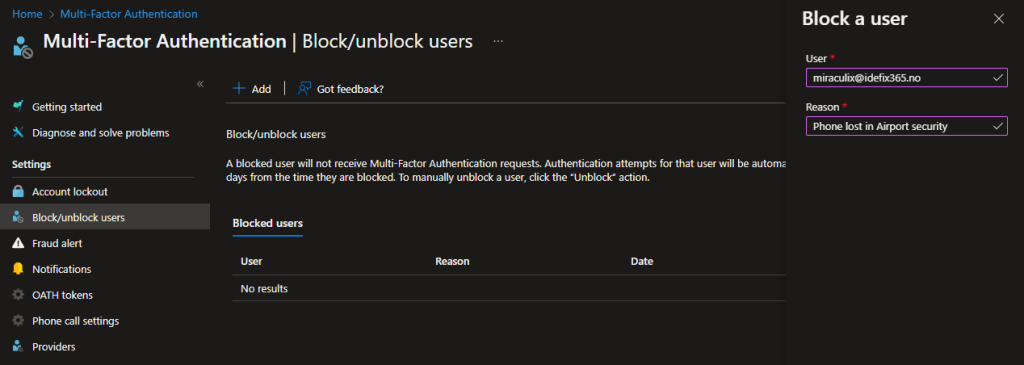
Block/Unblock users
So the Block / Unblock feature is a feature that allows you to block a user it their device is stolen or lost. The user you put on this block list is blocked for 90 days or until a Administrator unblocks the user.
Block a user: Azure Active Directory > Security > MFA > Block/unblock users.
Write in UPN and a reason for blocking.
Unblock a user: Azure Active Directory > Security > MFA > Block/unblock users.
Select unblock on the user you want to unblock and write a reason for unblocking.